When I’m not trying to make friends, I try to reaffirm my current relationships and that has taken the shape of building a table!
You read that correct. The him and I salvaged an old door and got to work making the best coffee table pocket change could buy.
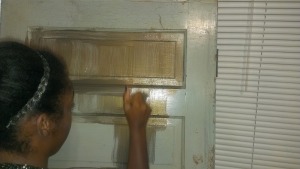
Step 1: Find your door
We started at Chicago’s Rebuilding Exchange. This spacious warehouse features everything from cabinets to sinks; windows to plumbing stuff; and yes, rows and rows of doors. They have retail hours throughout the week, but we attended a monthly event featuring local vintage collectors and DIYers. We found our door here for $20.00. We picked a smaller door as to not overwhelm our couch/living room. Be sure to measure; not all doors are created equal.
We also looked on craigslist and while we found some doors, the Rebuilding Exchange had better quality, prices and a helpful staff that gave us a lot of confidence.
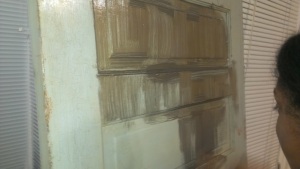
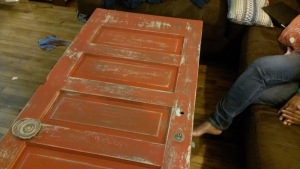
Step 2: Clean your door
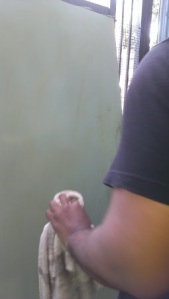
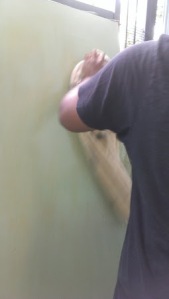

We wiped down our door with old rags. Above picture is what became the underside of our table.
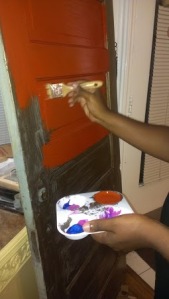
Step 3: Select your colors and get painting
We picked colors to help highlight our chocolate brown couch.
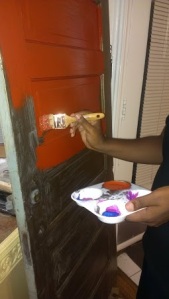
We picked up two store brand acrylic colors at Blick called blickrylic, for a total cost of $9.00.We selected a metallic gold base color called Metallic Brass and a red top coat called Venetian Red.
We layered the metallic brass paint, as named by Blick, on in medium even coats. We completed two coats and left the door to dry outside overnight. 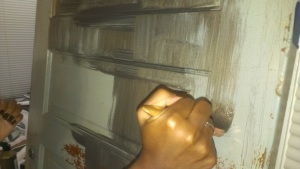
After the base coat dried we painted the door a deep red.
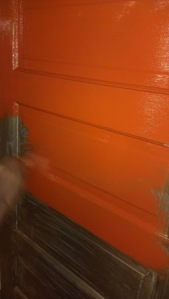
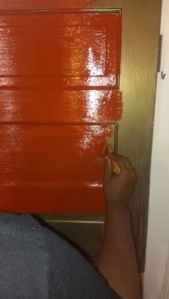
We layered the red on thick because we wanted it to be the dominant color. After three layers we allowed the red to also dry outdoors overnight. We did, however, do all the painting in our living room and the fumes were faint to non-exsitent.
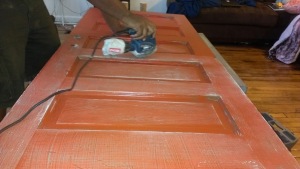
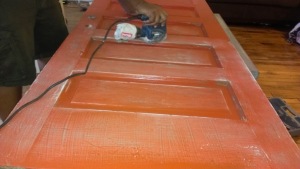
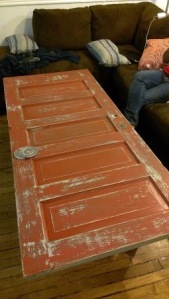
Step 4: Sanding
This was admittedly my him counterpart’s favorite. We wanted our table to have a vintage look, so we buffed and sanded until our table was a bit distressed. We used an electric sander with a vacuum bag to catch most of the dust. An electric sander saved so much time and clean up, some sweeping required.
Step 5: Find your table legs
This was the hardest part. The Rebuilding Building Exchange had nothing in ways of legs, so the hunt began. We went through things like: metal braces, pvc pipes, wooden planks; everything we could think of. We even found a craigslist seller who makes tables and table legs, but they wanted 20 bucks a legs.
Everything was earlier not sturdy enough, not the right height, not the right price.
We decided to go to Home Depot to try our luck. In the lumber department we discovered wooden beams that were typically used for railings. The lumber department cuts wood to request free with purchase so their we picked up what would become our legs. The beams were $3.97 per 8 feet; costing a total of about 8 bucks for the two required beams.

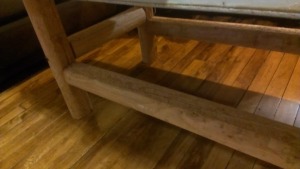
While there we picked up a pack of wood screws, metal braces, in addition to renting a hammer drill to affix the legs. While we do own a drill we needed more voltage to penetrate the wood, so the hammer drill was necessary.
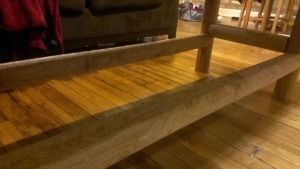
Step 6: Enjoy your table
We loved our table, but found we needed a cross-bar to make it more sturdy. So back to Home Depot we went where we purchases two more pieces of wood.
Before adding the extra support beam our table looked like this:
 Continue reading →


 I picked up a quart of matte Power Gray from the Home Depot and the dusty lilac gray and I got to work. My lovely assistant, Rachel, and I painted the dresser drawers and body of the dresser leaving the front face the original white.


")

